
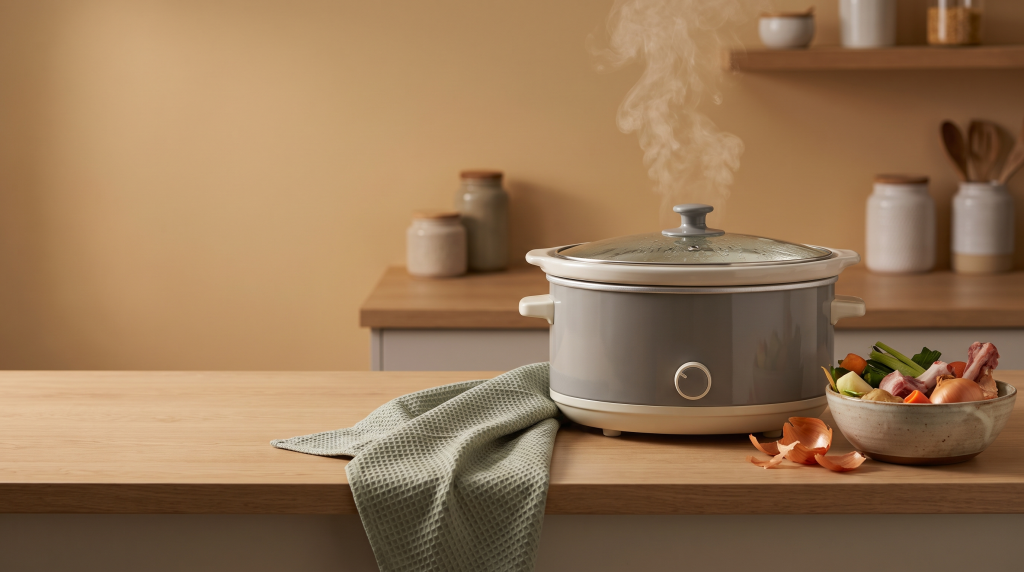
| Quick Answer: A slow cooker handles the long, gentle simmer that good bone broth needs, with almost no attention required.Chicken broth is usually ready in 12 to 18 hours; beef bone broth benefits from 18 to 24.Use plenty of collagen rich joints and keep the heat low for a broth that gels when chilled.On busy weeks, a quality ready made broth or bone broth protein gives you the same cup with no wait. |
A slow cooker is one of the easiest ways to make bone broth at home. It does the long, gentle simmering for you, with almost no attention required, which is exactly what good bone broth needs to draw collagen and flavor from the bones. Here is a clear walkthrough of how it works, along with an honest look at the time involved and a convenient alternative for the days you would rather skip the wait.
Making your own broth can be deeply rewarding, and it gives you full control over the bones, the quality, and the seasoning. It is also a genuine time commitment, so it helps to know what you are signing up for before you begin.
What You Will Need
- Bones. A mix of meaty and joint heavy bones gives the best body. Grass-fed beef bones or a leftover chicken carcass both work beautifully.
- A splash of vinegar. Apple cider vinegar may help draw minerals from the bones during the long cook, and the amount is too small to taste.
- Aromatics. Onion, garlic, celery, carrot, peppercorns, and a bay leaf round out the flavor.
- Water. Enough to cover the bones by an inch or two.
- A slow cooker, ideally one large enough to hold a full batch with room to spare.
The Basic Method
- Place the bones in the slow cooker. For deeper flavor with beef, roast them in the oven first until well browned.
- Add your aromatics, a splash of vinegar, and enough water to cover the bones by an inch or two.
- Set the slow cooker to low and let it simmer gently. Chicken broth needs roughly 12 to 18 hours; beef benefits from 18 to 24.
- Skim any foam that rises in the first hour or two, and top up with water if the level drops too far.
- Strain out the solids, cool the broth quickly, and store it in the fridge or freezer.
That long, hands off simmer is what pulls collagen from the bones and gives the finished broth its silky body and its tendency to set into a soft gel when chilled. The gel is the clearest sign that your broth is rich and collagen heavy.
Choosing Your Bones
The choice of bones shapes the result more than anything else. A beef bone broth comes out rich and full bodied, especially if you include marrow bones and knuckles, while a chicken bone broth is lighter, milder, and quicker to cook. Beginners often start with chicken because it forgives mistakes and finishes sooner. If you want to compare animals before you commit, our guide to the types of bone broth lays out the differences, and our piece on the best bones for bone broth covers exactly what to ask your butcher for.
Tips for a Richer Broth
- Use plenty of collagen rich joints, knuckles, and feet for the best gel.
- Roast beef bones first for a deeper, more savory, slightly sweet flavor.
- Keep the heat low. A hard boil makes the broth cloudy; a bare simmer keeps it clean and clear.
- Do not over salt during cooking, since the broth concentrates as it reduces. Season at the end instead.
- Resist the urge to add too much water, which dilutes both the body and the flavor.
Why It Gels, and What to Do if It Does Not
A firm gel when chilled means your broth is rich in collagen, which has dissolved into gelatin during the long cook. If your broth stays liquid, it usually means it needed more collagen rich bones, less water, or a longer simmer. It is still perfectly good to drink and just as nourishing; a softer set simply means a lighter broth. To understand the science behind the gel, see our guide to does bone broth have collagen.
How Long Does It Take, Really?
This is the honest part. Between prep, a full day of simmering, and cooling and storing, homemade bone broth is a project that spans most of a day, even though your active, hands on time is short. For many people that slow rhythm is part of the appeal, and the slow cooker makes it about as effortless as broth making gets, since it runs safely overnight while you sleep. On busier weeks, though, even that can be more than you have to give.
When You Would Rather Skip the Simmer
You do not have to choose between homemade and nothing. A quality ready made broth gives you the same warm, collagen rich cup without the wait, and the various forms of bone broth, from liquid to powder to bone broth protein, make it easy to keep some on hand for the days you have no time to cook. Many people happily do both: a weekend batch in the slow cooker, plus a few cartons or a tub of powder for weekdays.
Either way, once the broth is made, our guide to how long bone broth lasts will help you store it well, and how to use bone broth has plenty of ideas for drinking and cooking with it. If you would rather speed things up dramatically, a pressure cooker is the fastest route of all; see how to make bone broth in an Instant Pot.
Flavor Variations to Try
Once you have the basic method down, the slow cooker makes it easy to vary the flavor. For a European style broth, lean on onion, carrot, celery, bay, and thyme. For an Asian inspired cup, add ginger, garlic, scallion, and a strip of kombu, finishing with a little soy or miso after cooking. A roasted version, where you brown the bones and even the onions first, gives the deepest, most savory result. Because the slow cooker runs so gently, these aromatics infuse slowly and cleanly, so the finished broth tastes layered rather than harsh. Keep notes on what you like, and you will soon have a house style you can repeat.
Common Slow Cooker Mistakes
A few easy slip ups can hold a batch back. Adding too much water dilutes the body and the flavor, so cover the bones by only an inch or two. Cooking on high can leave the broth cloudy, so stick to low. Forgetting to skim the early foam can muddy the result, so check it in the first hour. And salting heavily at the start can leave the finished, reduced broth too salty, so wait until the end. None of these ruin a batch, but avoiding them is the difference between a good broth and a great one.
Using Your Finished Broth
Once it is strained and cooled, your slow cooker broth is ready for anything. Sip it warm and lightly seasoned, use it as a base for our easy bone broth soup ideas, or cook grains and vegetables in it for extra flavor. A rich beef bone broth makes hearty stews, while a lighter chicken bone broth keeps soups delicate. For many more ideas, see how to use bone broth.
Is Slow Cooker Broth Worth It?
For many people, the slow cooker is the method that finally makes homemade broth practical. The active time is genuinely short: a few minutes to load the pot and a few more to strain and store. The long hours in between happen on their own, often overnight, so the real question is whether you are happy to plan a day ahead. If you are, the payoff is a broth you control completely, from the quality of the bones to the salt, usually at a lower cost than buying it.
That said, it is not the right tool for every moment. When you want broth today, or you simply have no spare day, a quality ready made broth or a tub of bone broth protein is the sensible choice, and the various forms of bone broth make it easy to keep some on hand. The most realistic approach for most households is a blend: a slow cooker batch of beef bone broth or chicken bone broth when time allows, backed up by ready made for everything else. That way you get the rewards of homemade without depending on it.
Frequently Asked Questions
How long should bone broth cook in a slow cooker?
Chicken broth is usually ready in about 12 to 18 hours on low, while beef benefits from 18 to 24. The longer, gentler cook pulls more collagen from the bones and deepens the flavor.
Do I need to add vinegar?
A splash of apple cider vinegar is traditional and may help draw minerals from the bones during the long simmer. The amount is small and does not make the broth taste sour.
Why isn’t my bone broth gelling?
Gel comes from collagen, so use plenty of joint heavy bones like knuckles and feet, keep the heat low, and avoid adding too much water. A broth that stays liquid is still nutritious and good to drink.
Is it safe to run a slow cooker overnight?
Modern slow cookers are designed for long, unattended cooking, which is part of why they suit bone broth so well. Follow your appliance’s instructions, keep it on low, and make sure there is enough liquid.
Is homemade better than store-bought?
Homemade gives you full control over the bones and seasoning, but a quality store bought bone broth is a fine, convenient alternative. Look for good sourcing, a real protein number, and reasonable sodium.
Can I reuse the bones for a second batch?
You can, especially with beef bones, though the second batch will be lighter and less rich. Adding a few fresh bones helps boost the body of a second round.
